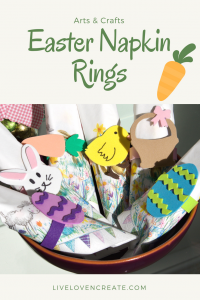

This week, I wanted to share with you some of the DIYs I created for Easter (keep your eyes peeled for more DIYs coming in the next few days!). For me Easter screams pastel colours, flowers, chocolate and all around sweetness that comes with the arrival of Spring.
I didn’t have any napkin rings for my Easter decor and of course I could have bought some very cute ones, but I love being creative and doing things by hand. I find it so liberating and freeing. You just spend 1 hour thinking about nothing else but your DIY project. I’m telling you, arts & crafts are good for the soul! 😉
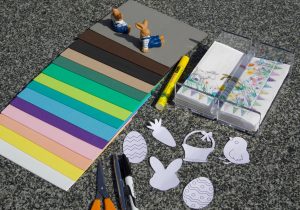
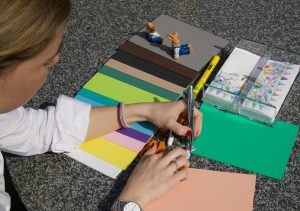
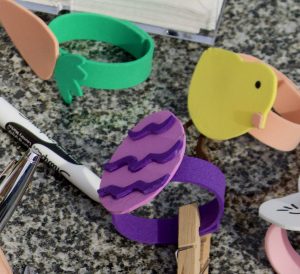
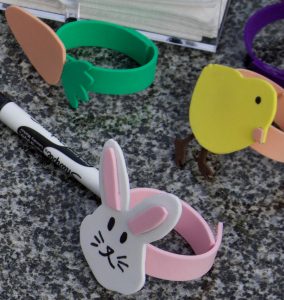
So for my napkin rings, as always I used very simple things: foam paper (you can also just use regular coloured paper!), pen and marker, scissors, glue (I used this one) and clothespins (not pictured here) to hold the pieces together while the glue dries. Lastly, I printed off some patterns off the Internet to help me with the shapes of my napkin rings (I literally just typed in “Easter bunny pattern”, “Easter egg pattern”…into Google images and so many cute ones showed up).

After cutting around each of the patterns, I was finally ready to start!
First up, the CARROT!
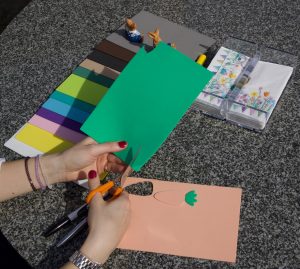
I used orange and green foam paper for the carrot. I drew around the pattern and cut around it like so…
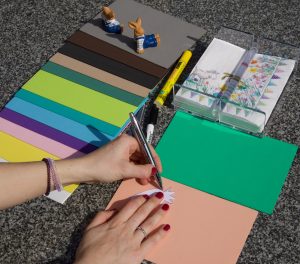
Then, I cut along the side of the green foam paper to get a long, wide strip of paper to use as the ring, on which I glued the carrot together. I used a clothespin to keep the pieces glued together for about 5 minutes.
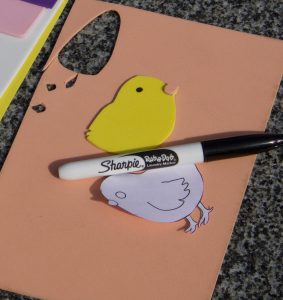
For the CHICK!
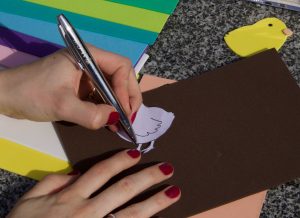
Similarly to the carrot, I cut around the pattern to get the shape right. I used orange paper for the beak, and dark brown for the little legs.
I just drew the little eye and the wing with a black marker.
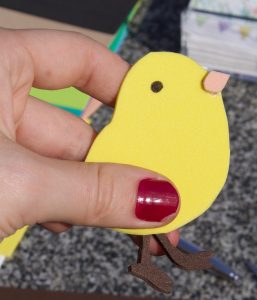
I cut an orange slip of paper for the ring and glued it all together.
For the EASTER EGGS!
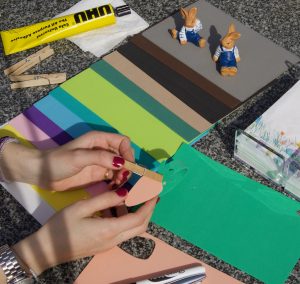
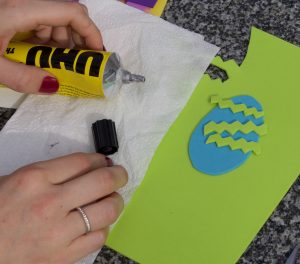
I used different shades of purple for the first egg.
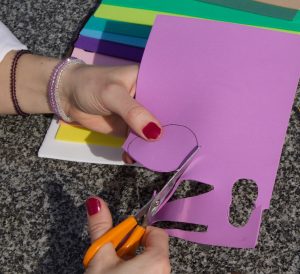
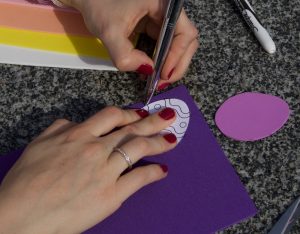
For the little decoration on the egg, I only measured the sides of the egg with a pen and then just drew the little waves by hand. I cut them up and stuck it all together like so…
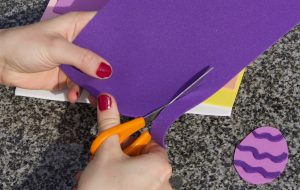
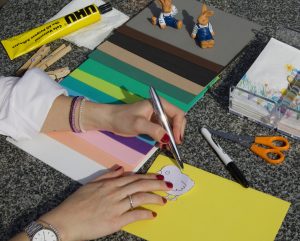
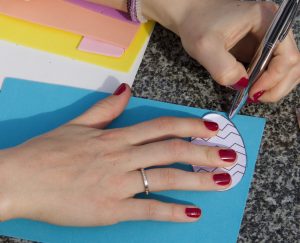
I did a second one with blue and green paper and a different pattern on the egg. I went through the same steps as the purple egg.
 .
. 
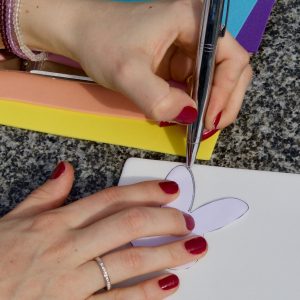
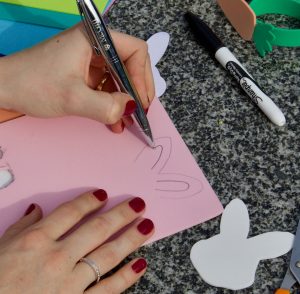
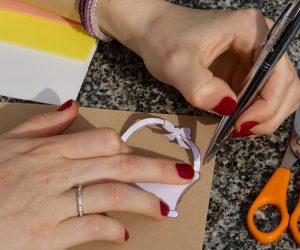
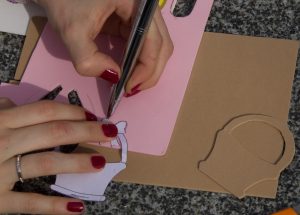
For the BUNNY!
For the rabbit, I used white and pale pink, because it just fits so perfectly in my pastel theme. I drew around the pattern using white paper. For the bunny ears I drew around the ears of the pattern and then just drew the inside of the ear by hand like so…
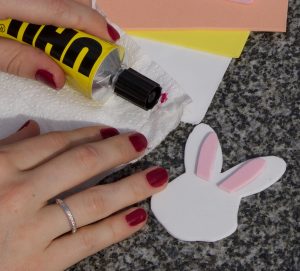
I glued it all together and drew the facial features with a black marker by hand, and VOILA!
For the Easter BASKET!
Now for the last pattern, the Easter basket, I used a beige-y colour for the basket and then pink for the little bow. It turned out so cute!
And VOILA! Almost as easy as 1… 2… 3… There are so many different patterns you can use! That’s what arts & crafts is all about! An infinity of options to choose from! If you do recreate these at home, I would love love LOVE to see your creations, so send them my way!!!
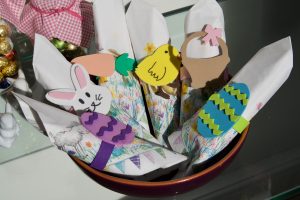
P.S. These Easter themed napkins are from here if you are interested!
Check back in next week to see how I use these in my Easter table decor!
What are some of your favourite Easter traditions and decorations? I would love to know!