Hello guys! I know I’ve been a bit quiet on the blog recently. I just came back from a little getaway to Holland so I’m feeling very refreshed and excited about creating new content for this blog.
This week I really wanted to do another Arts & Crafts post since I haven’t done one since Easter (!!). With the days getting shorter and the temperature dropping, indoor activities are taking center stage.
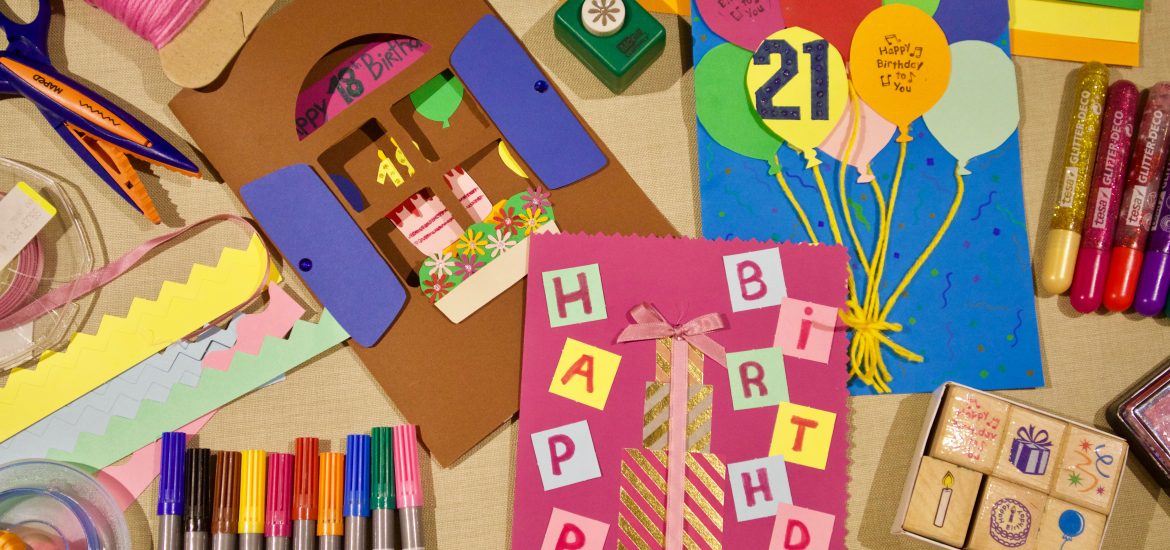
Grab a cuppa tea and lets jump in… I decided to make three different birthday cards since I feel like everybody has October birthdays so these are definitely going to come in handy this month. Hopefully this gives you inspiration to make your own using some ideas from this post. And don’t forget to send pictures of your creations my way!!
Card #1: Birthday Balloons
For this card, I essentially used coloured paper, templates, stamps, and double-sided foam squares to create a 3D illusion:
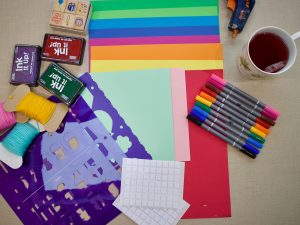
First, decide on a colour for the card’s background and fold the sheet in half.
If you have a template for a balloon then I would suggest using it so that all your balloons are identical but it is by no means essential (you can also just print a template from the Internet).
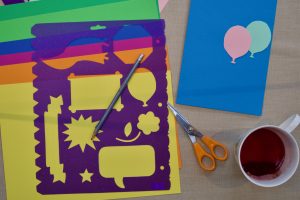
Once you’ve cut out all your balloons, display them as you please on your card. When you’re happy with how it looks, use your double sided foam squares to stick the balloons on the card.
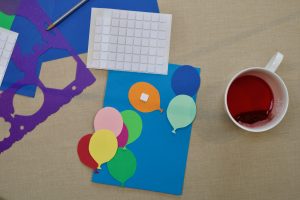
Next, take your string and cut it like so:
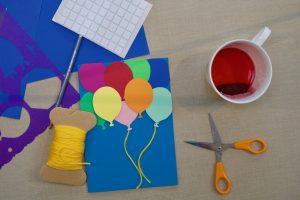
Then glue the pieces of string on both ends using a hot glue gun (by faaaar the most practical glue as it sets within seconds). Finish up by tying a little bow with an extra piece of string and glue it right where all the pieces of string “congregate” (for lack of a better word haha).
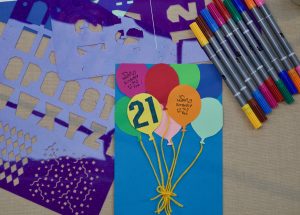
I decided to use stamps to create the illusion that the balloons have “Happy Birthday” printed on them. I also drew a “21” on one of them (with the help of a template) as the person who will be getting this card is turning 21! I added a little glitter and drew some confettis on the rest of the blank space on the bottom (scroll down to the final picture to see what it looks like).
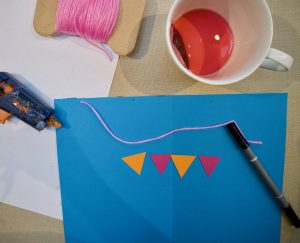
Now for the inside of the card. I wanted to personalise it a bit so I created a banner by glueing a piece of string and little triangle onto it to which I wrote the name of the recipient of this card i.e. my sister (if you’re curious haha)!! I only glued the piece of string on each side so it would create a little 3D illusion when you open the card.
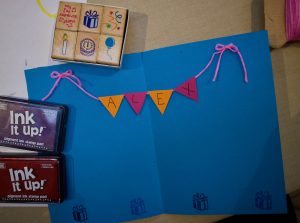
There are obviously a ton of ways you could change up this card but hey, its good inspiration.

Card #2: Birthday Presents
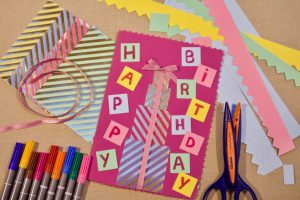
Ok, onto the second card. Here’s what I used: coloured paper for the card, gold-striped paper that I bought at Tiger for the presents, some ribbon, these fun border pinking scissors, and this pack of pre-cut cardboard paper that I honestly have no idea where it comes from but you can easily make these patterns yourself.
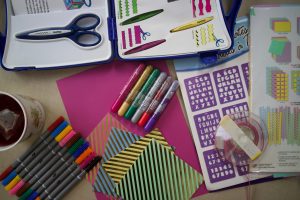
First fold your card paper in half and use your scissors to cut a fun border for your card. This is the one I chose…
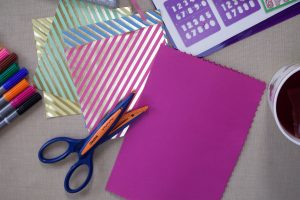
Now its time to cut out your presents. I measured each of them to make sure they would look right. I used these dimensions, from the biggest present to the smallest: 6x6cm, 4.5×4.5cm, 3x3cm and 2x2cm.
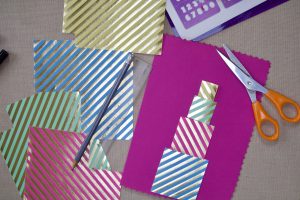
Then glue them onto your card like so. Now its time to get your ribbon out. Cut out a piece as long as the stack of presents and glue that piece down (with a hot glue gun, as always).
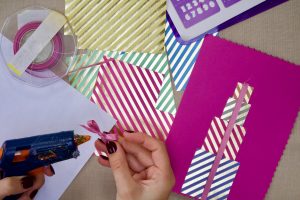
Cut out another piece, tie it into a bow and glue it on top of the pile of presents. Super easy and super cute!!
Now for the text: I used these pre-cut squares from the pack I just told you about. I used one for each letter to write “Happy Birthday”. I displayed them the way I wanted and glued them onto the card.
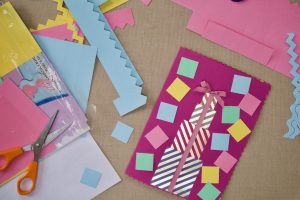
For the writing, I didn’t have a template that was small enough to fit the squares so I just decided to write it by hand. Didn’t end up looking too too bad. 😉
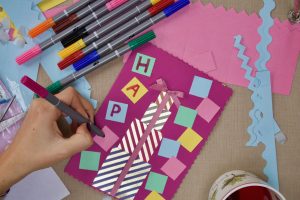
For the inside of the card, I left plenty of space for a message only adding a few fun borders from that same pack I just mentioned (haha sorry I used it a lot for this card) but you can totally cut out these borders with your border-cutting scissors.

This card is the easiest of the 3 I’ve made but I totally think it looks just as good. Remember, you can switch up the colour scheme if you’re making that card for someone who likes more… hmmm… toned down colours haha.
Card #3: Window
This third card is the trickiest but only because of the window cutting part. Once you’ve mastered how to use the cutter, you’re good to go. For this card, you will need: a shape cutter like this one, the shape template for the window (unfortunately I can’t find this exact one online but this is the closest thing I’ve found. As long as the shape is hard plastic so pretty sturdy you’re good), some coloured paper, a little glitter, scissors and glue.

Ok, first things first fold your sheet of paper in half for your card. Then get your window template and cutter out, making sure you do it on an appropriate surface so you dont ruin your cutter or table.
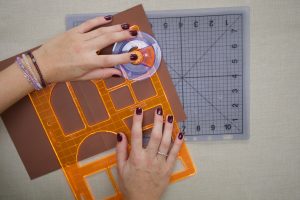

Now cut out the windows as shown in the pictures above. You should end up with something like this. ^^ Honestly, don’t hesitate using your scissors for the finishing touches, its a little easier.
Once you’re done, its time to work on the inside of the card. I cut out a banner on which I wrote “Happy 18th Birthday” (yes, its for an 18th birthday) using a template but as always, you can also do it by hand.
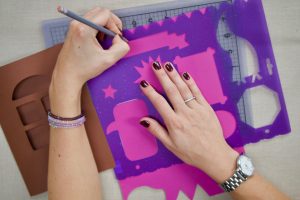
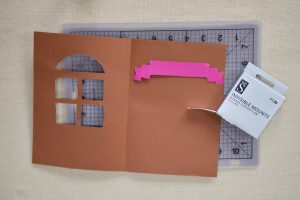
Now, glue it making sure you can see the banner from the window holes. I used double-sided sticking squares.
For the rest of the card, you can really do whatever you feel like. I decided to create a table on which I made a cake, and a few balloons for fun – all of them I just created by hand (so without a specific template). Scroll down to see the final results!
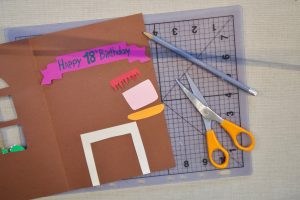
Ok, now lets get back to the front, which is still looking pretty bare. I decided to create a window sill flower pot with the help of a flower cutter thing (I still don’t know how you call these…help!).
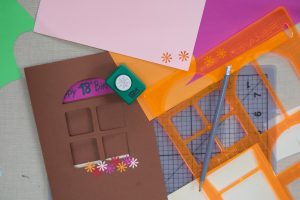
I also added bright blue shutters to give a little more colour to the front of the card.
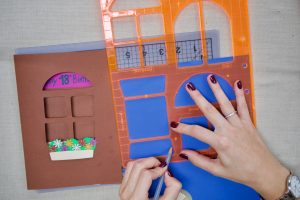
Lastly, I added a little glitter to finish off and tadaaaa here’s the final result:
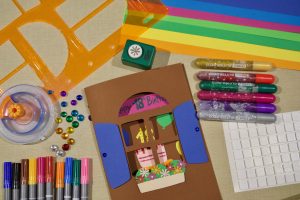
Here’s the front… ^

…and here’s the inside. ^
Also, please excuse the bad lighting, it was already dark when I finished these cards… so yeah, it looks pretty yellow… sorryyy.
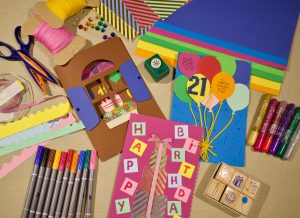
I hope you enjoyed this post! It was certainly fun to get crafty and creative making these cards. See you next week for some more inspiration!!
Adorable and so creative yet so simple.
I want one too!